Your Cart is Empty
8-4 Mon.-Sat. / 9-4 Sun.
FREE DELIVERY OVER $80. Flat $10 for $40-80.

Note: This is a standardized cupping protocol. If you'll be joining our live cupping, and don't have these tools at hand, brewing by any method you have will suffice to follow along with tasting notes and characteristics.
Cupping coffee is the specialty coffee industries standard for evaluating coffee. Cupping is done by everyone in the industry, from the producer-to-green bean buyer-to-the roaster-to-the barista everyone does this to evaluate coffee quality and to develop their personal tasting palette. The reason why cupping is the standard for evaluating coffee is because there are not many variables to consider when cupping (such as choice of filter, how you pour the water when making a pour over, how long it takes to brew, etc.). It is also a simple process once you get the hang of it.
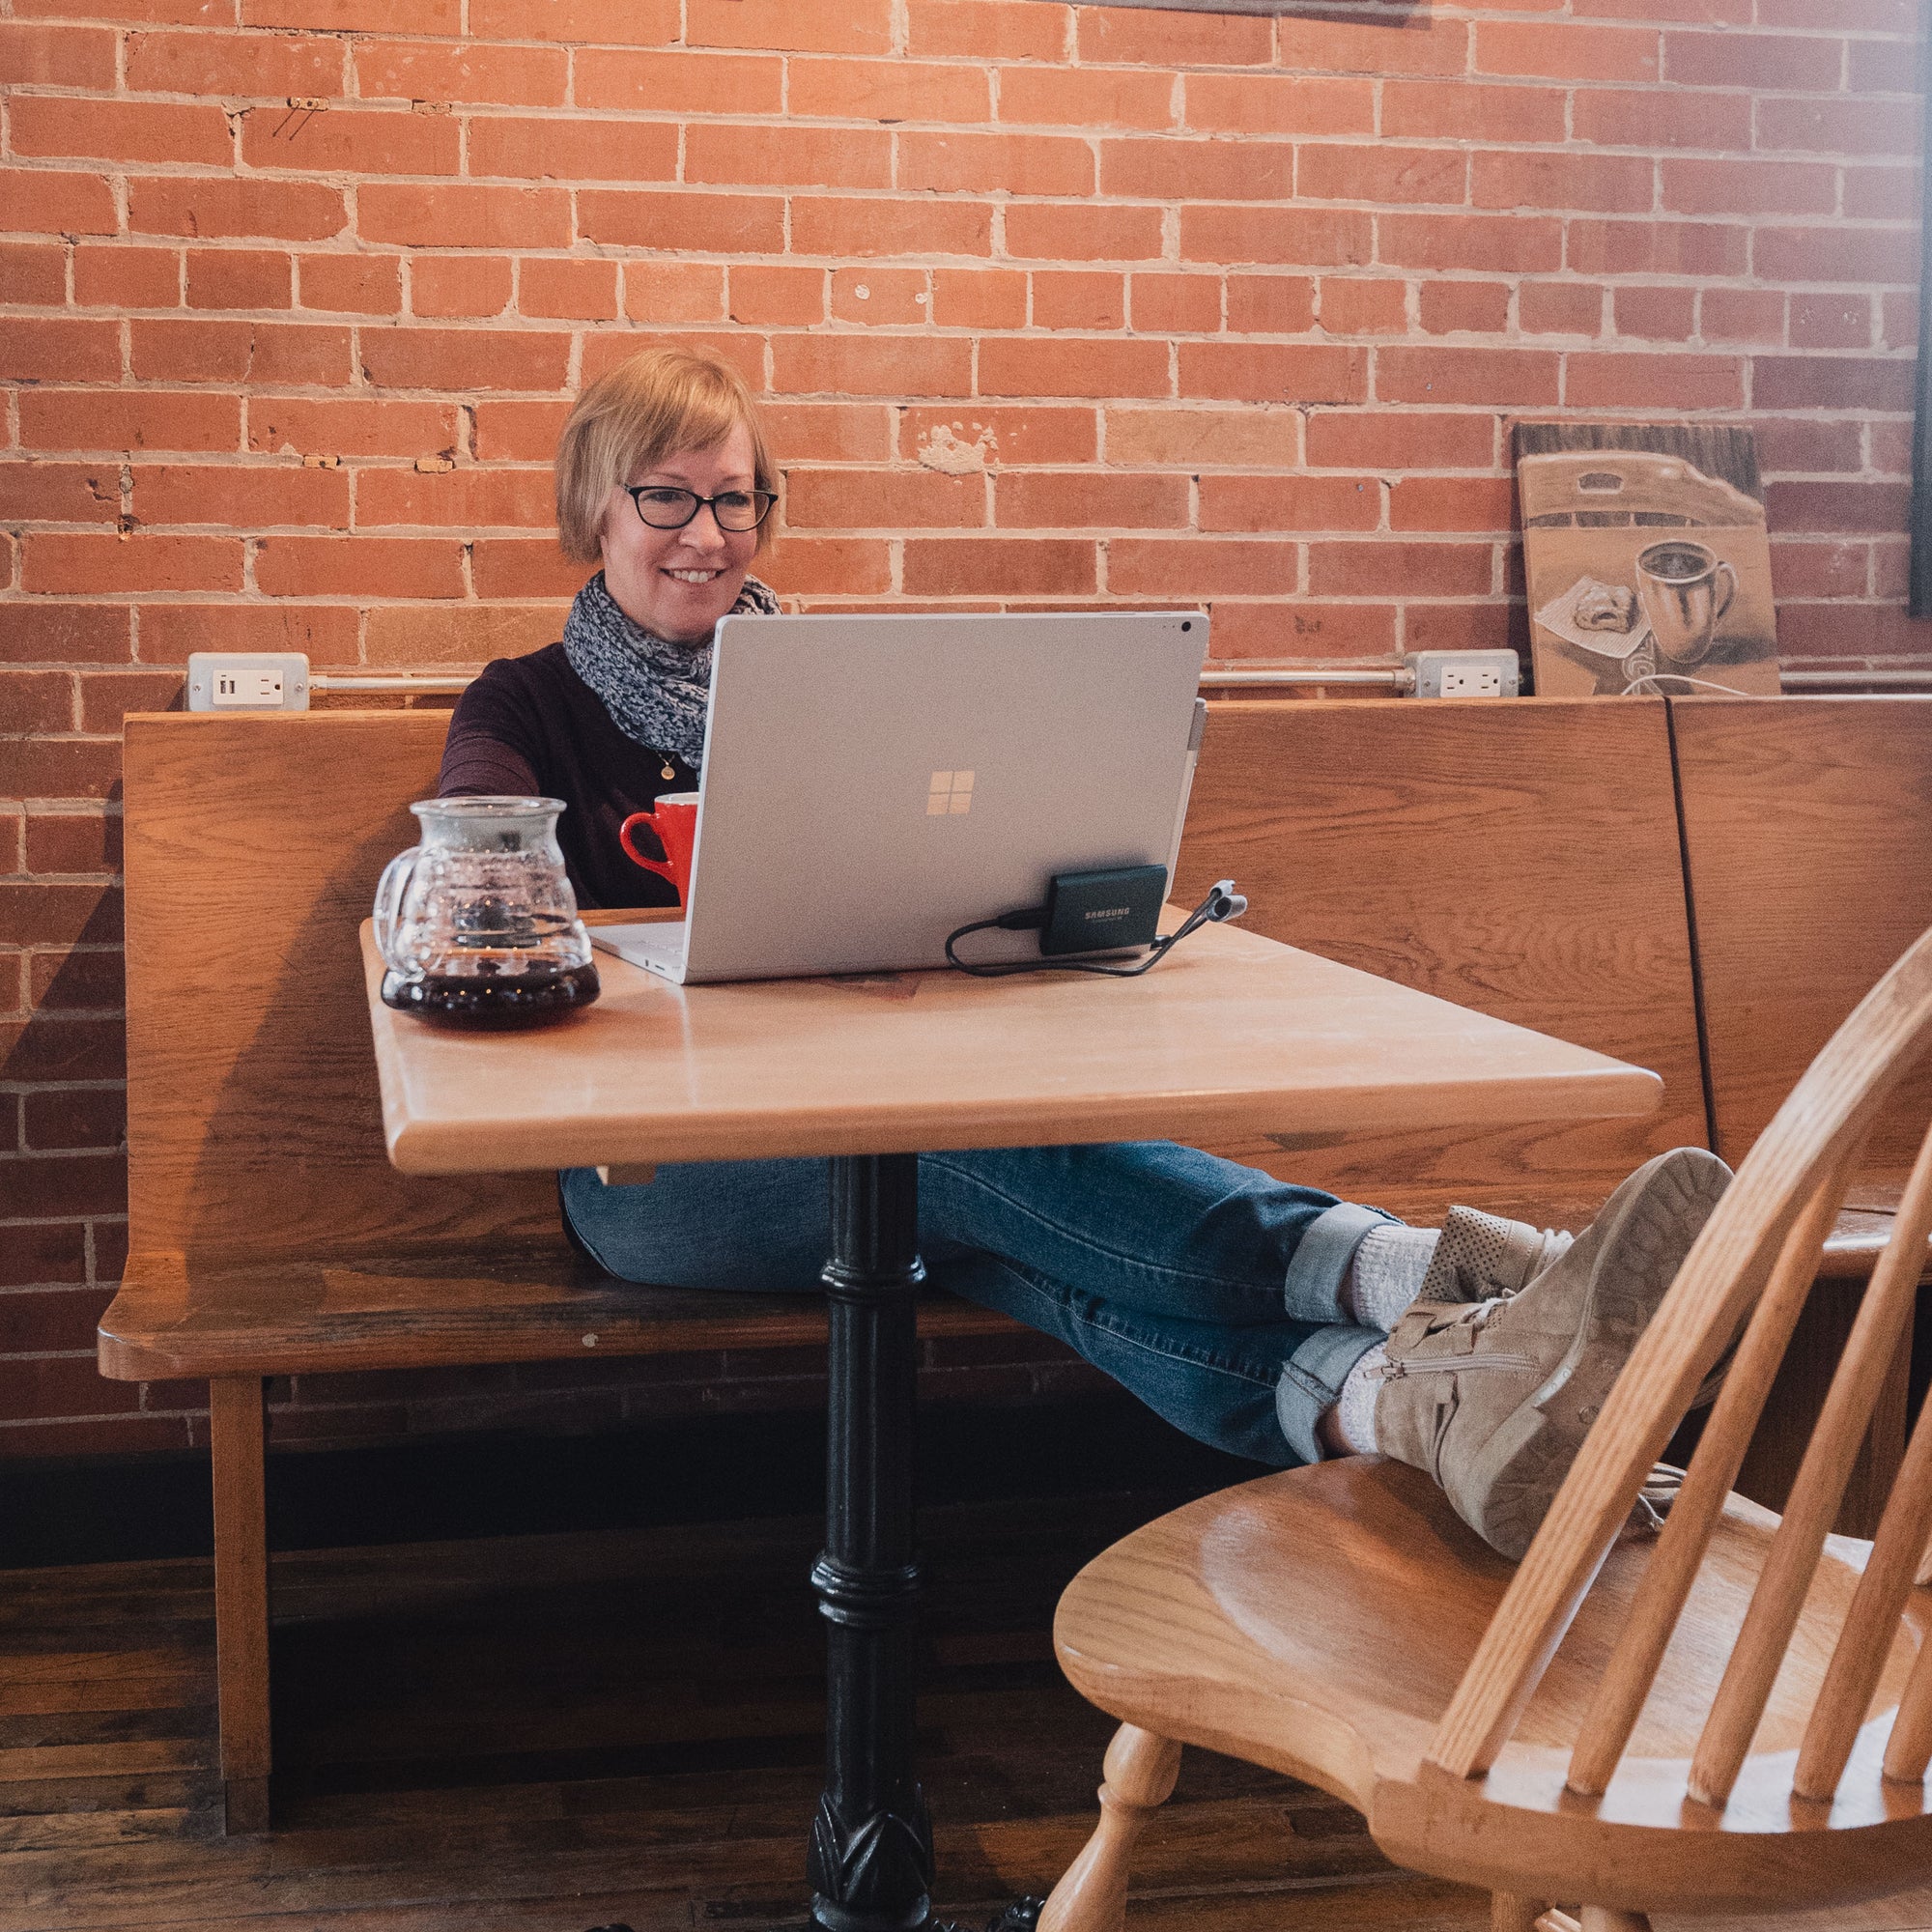
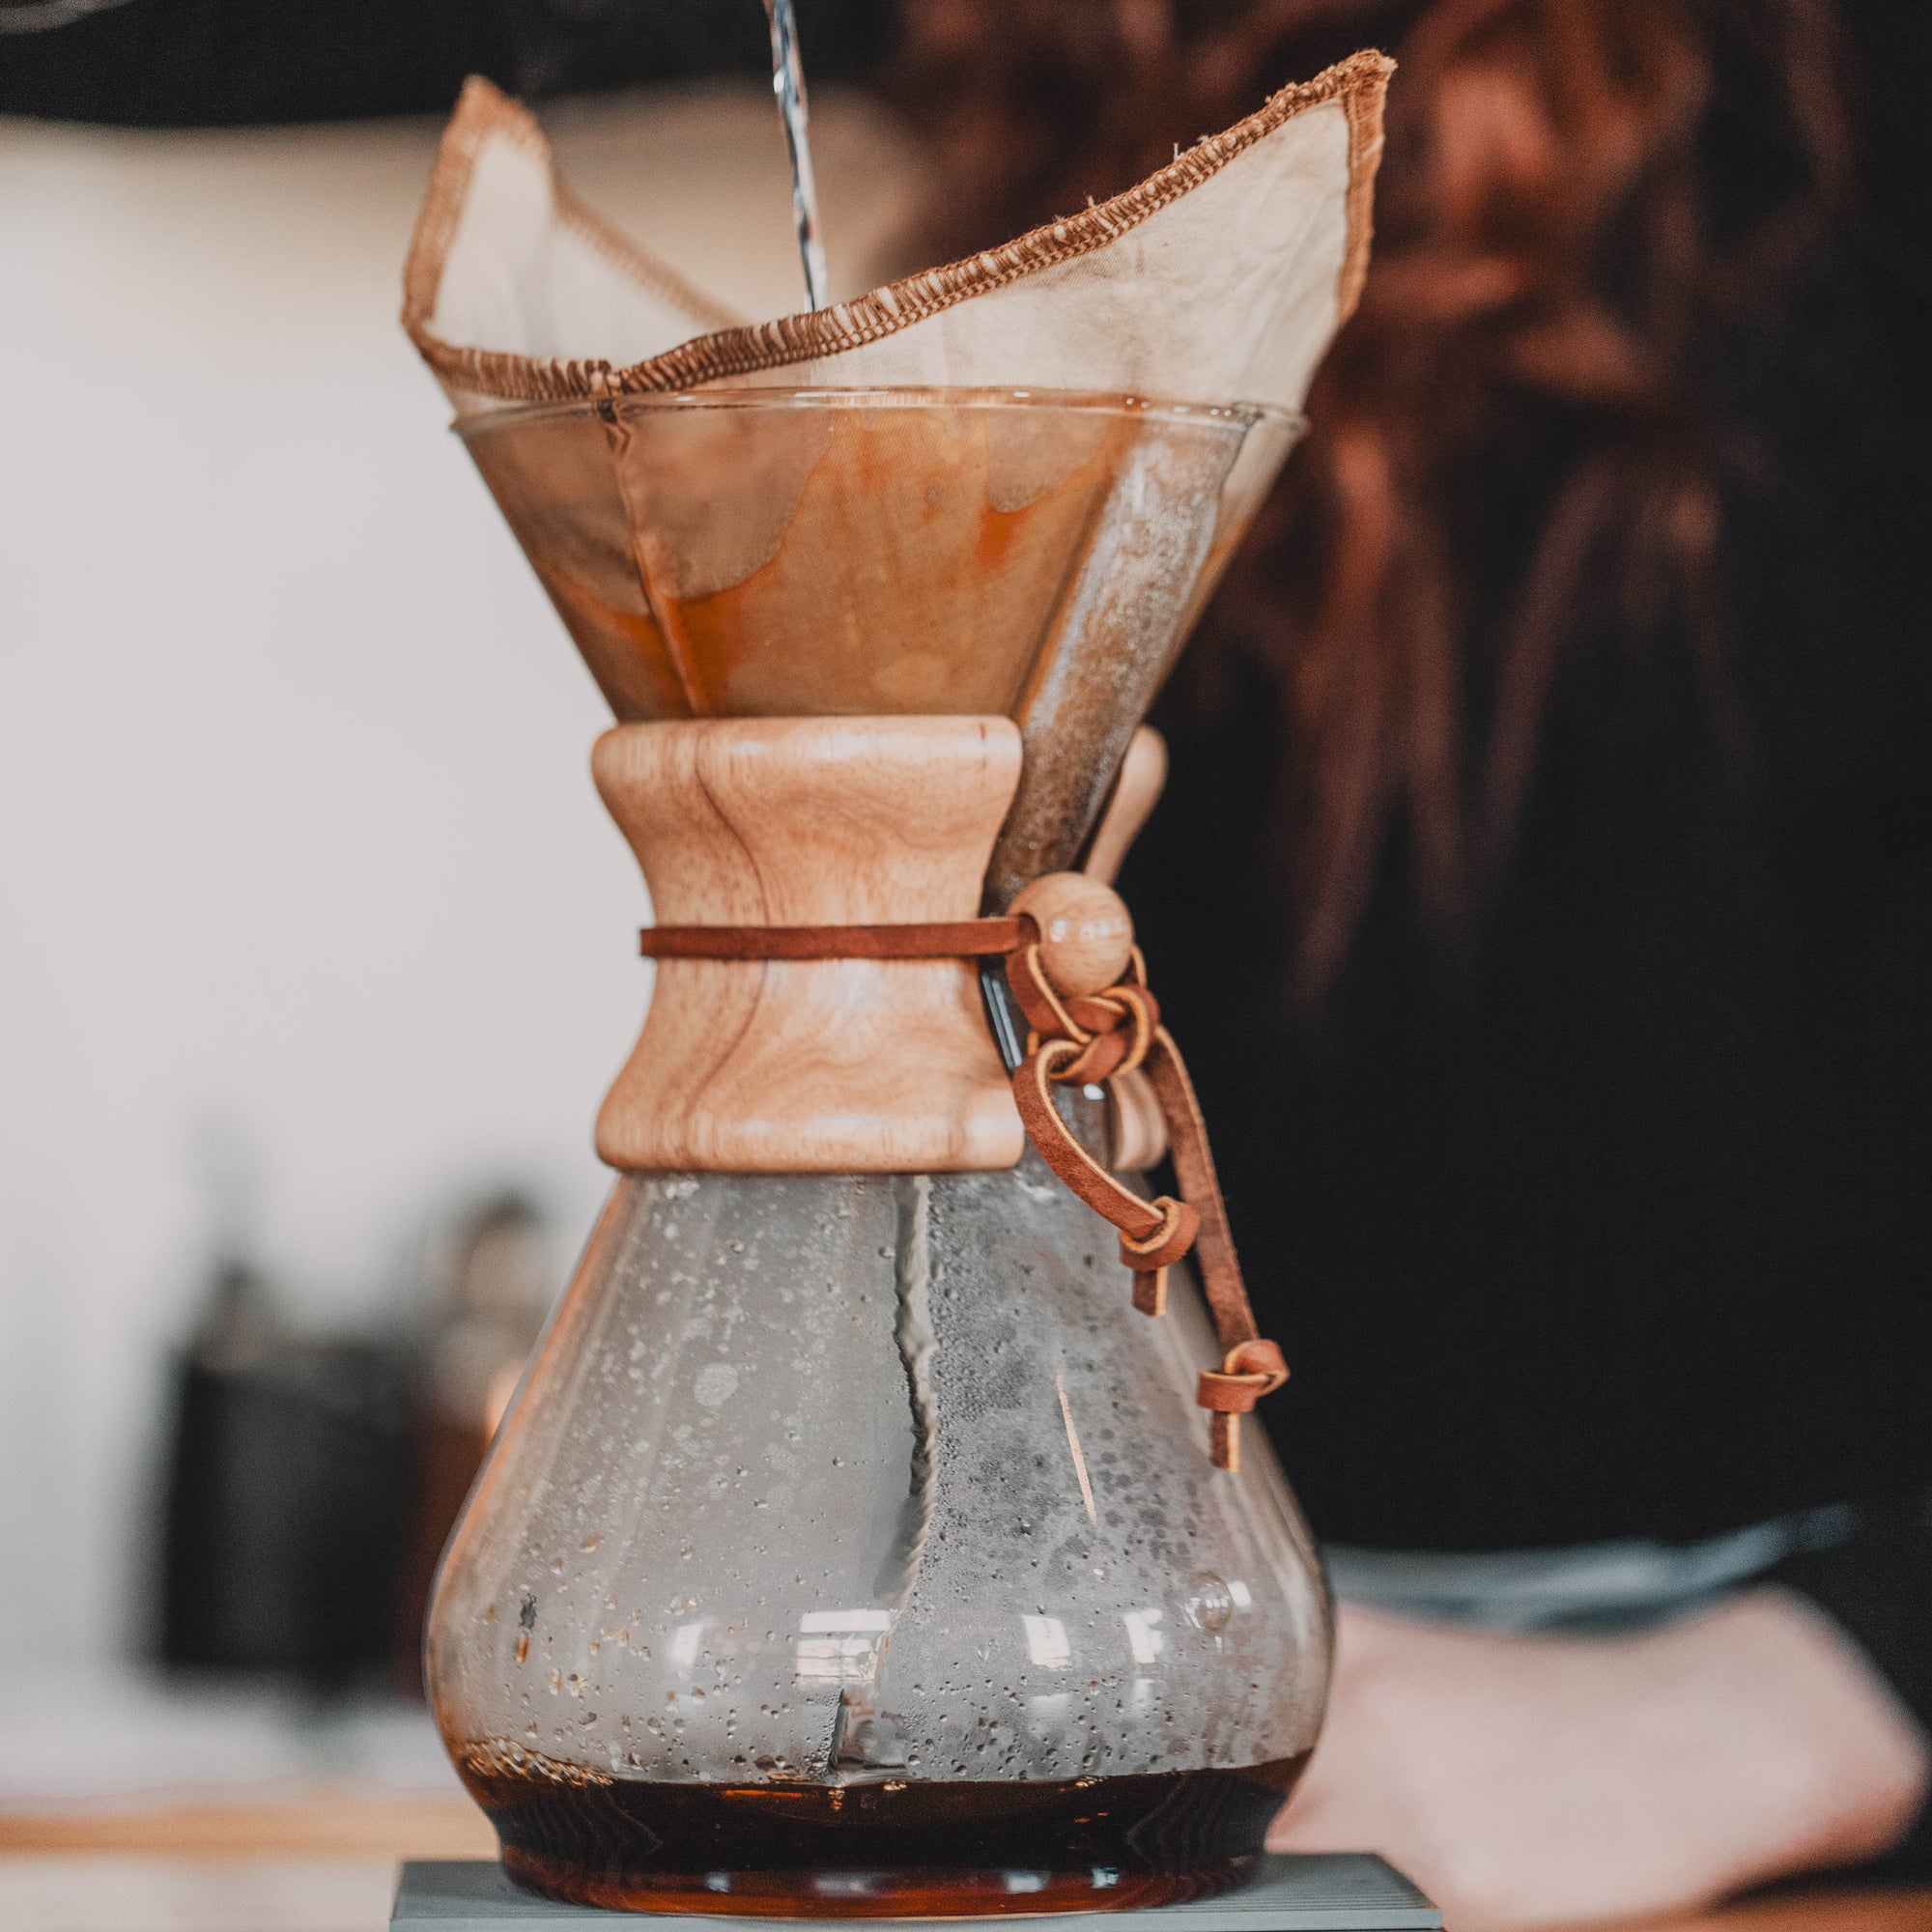
At the roastery, we will cup when we are finding a new coffee to feature in our coffee collection if we have a lot to sample from (for example, 10 coffees from Ethiopia). During the cupping, we narrow our choices down to 3 or even 5 samples. After the cupping, we will make a pour over coffee from the narrowed down samples and make the final decision. We believe that a pour over is a great evaluation method because it is how you, the customer, is going to taste the coffee. We also cup for quality control purposes. We want to ensure that our coffee is tasting up to our standards and is tasting consistent.
Equipment You'll Need (make sure you have everything ready before moving on to the next steps):
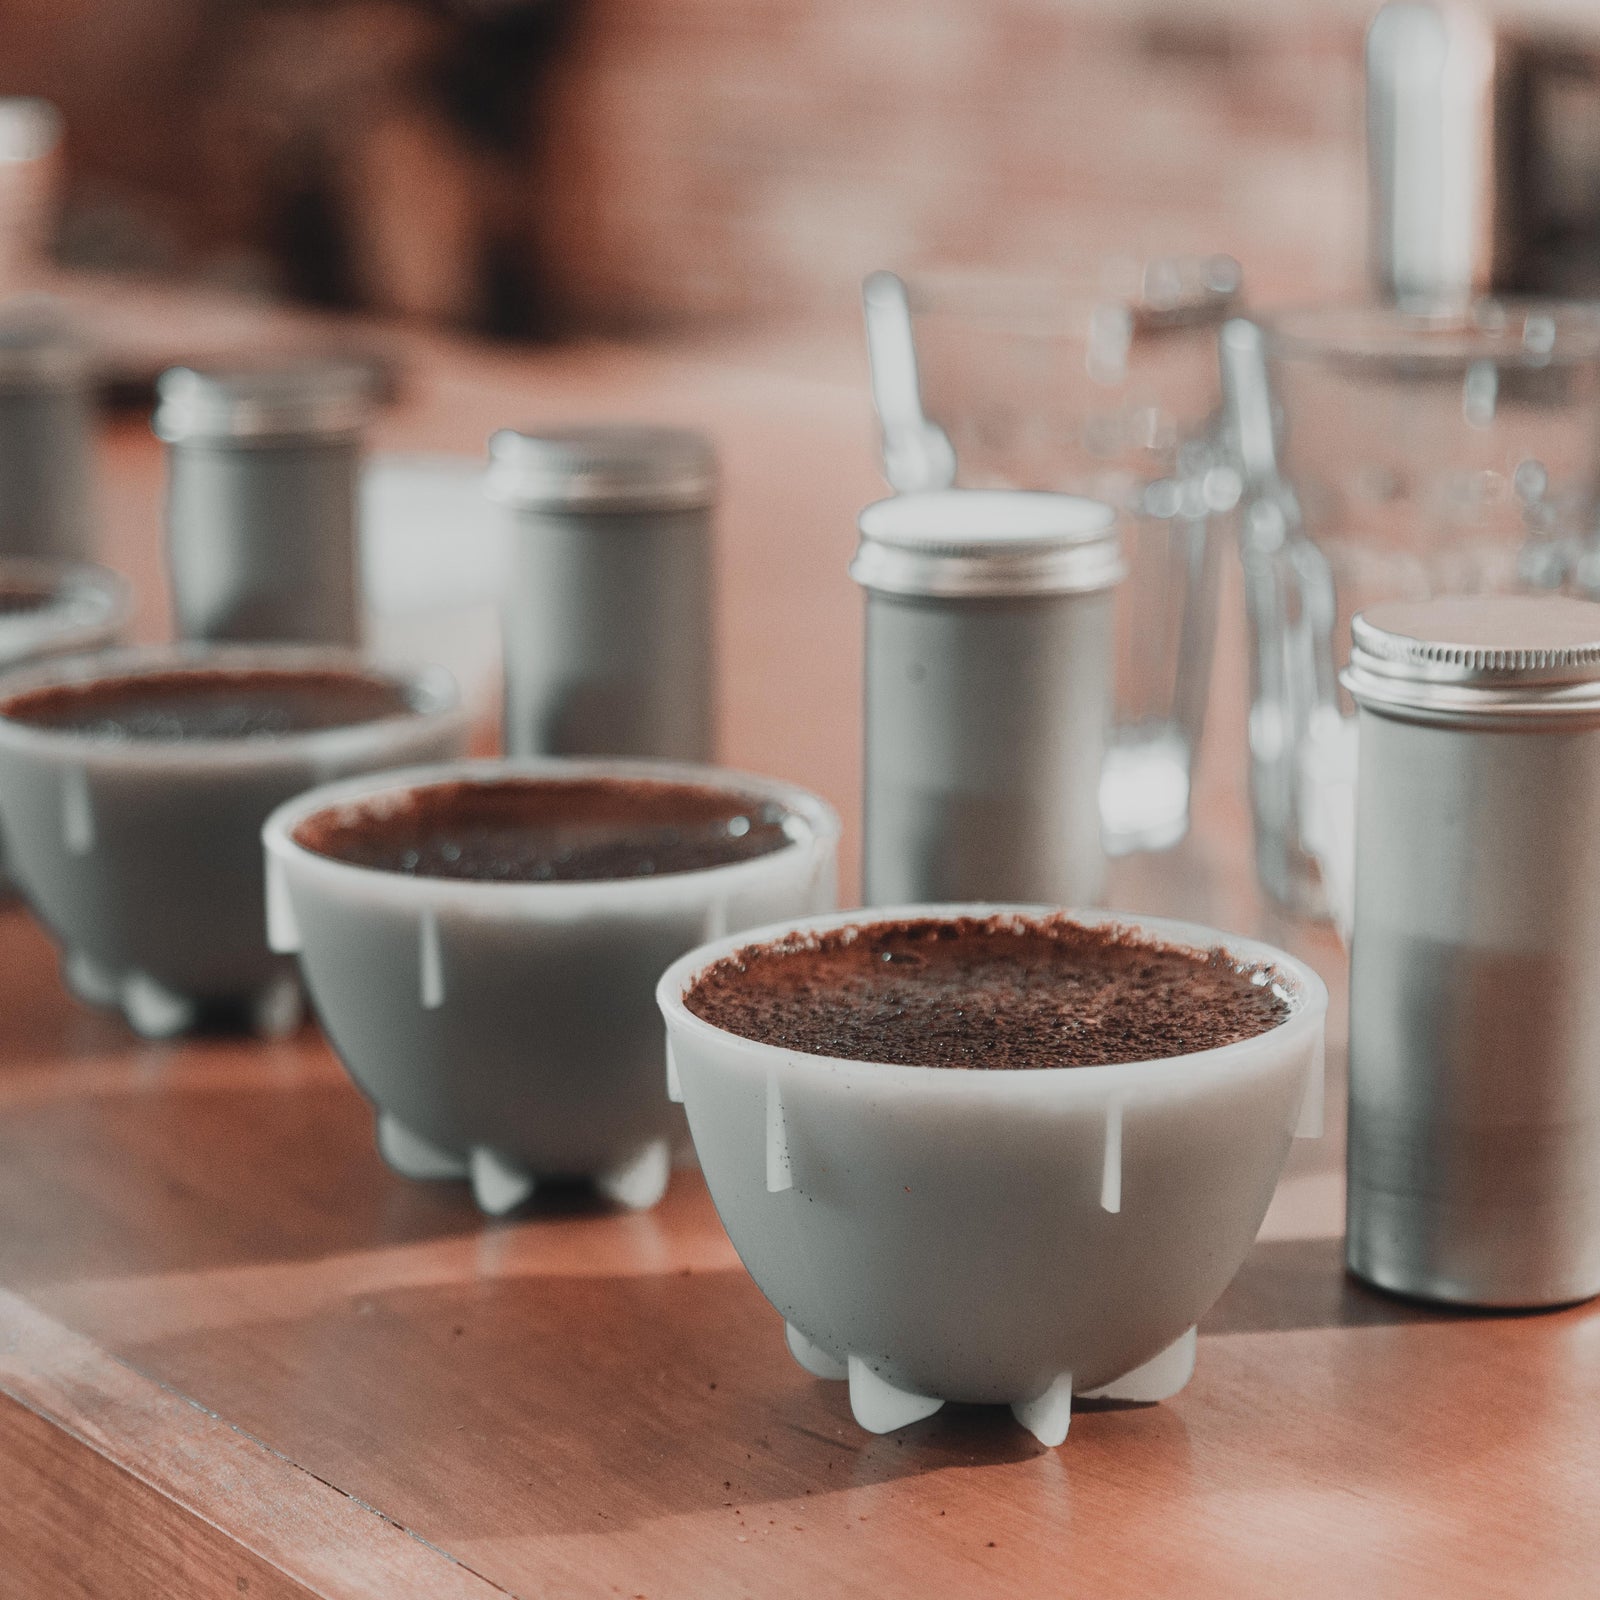
How to Cup:
First, you want to prep.

This includes choosing your samples, weighing out the coffee, grinding the coffee, and preparing the water.
When you pick which coffees you want to cup, we recommend choosing at least 3 different coffees. This is beneficial to you because then you can really tell the difference between the coffees and pinpoint their characteristics. When cupping different coffees with different processing methods, we typically put the washed first and the naturals last on the cupping table.
The cupping water to coffee ratio is 0.055g / ml of water. To figure out how much coffee you need, you first need to weigh out how much water fills your cupping bowls. Set the bowl on a scale, tare the scale, and pour water right to the rim. The weight is your liquid volume. So, for example, if your cupping bowl held 220ml of water, you’d want 12.1g of coffee (220 x 0.055).
Next step is grinding the coffee. You want to grind the coffee no more that 15 minutes prior to cupping. Grind particle size should be slightly coarser than typically used for paper filter drip brewing but not as coarse as a Cold Brew grind.
Below is our grind size for a cupping from a Mahlkonig EK-43 grinder against the Kruve Brewler which you can download below.

Then we have our grind size for a cupping from a Baratza Forte grinder against the Kruve Brewler:

It is good practice to smell the dry grounds, also known as fragrance. You may be able to tell a lot about the coffee by smelling the fragrance such as its aroma notes. Take notes on what you are smelling.
Finally, you want to boil your water. We like to use water that is around 140ppm or using a Third Wave Water Packet dissolved in distilled water to meet coffee water quality standards.
Then, you start the cupping process.

Start a stopwatch and start pouring the boiling water. You want to fill the cups / bowls to the rim and as quickly as possible. After you pour the water in all the bowls, wait four minutes.
At four minutes, you are going to "Break the Crust". Breaking the crust intensifies the aromas so as you break the crust you want to be up close to the bowl smelling the aroma. When you break, you want half your spoon submerged in the the bowl and stir (3-4 stirs is recommended). In between each break, you want to rinse your spoon (we usually, have an extra bowl / cup with hot water in it).
Right after breaking the crust, you want to skim off any remaining grinds that are at the top of the bowl and put them in another cup and discard later using two spoons. After you skim a bowl, rinse with hot water (you can use the same bowl / cup that you rinsed the first time after the break). So you should have two separate cups when skimming; one for your grinds and one with hot water for rinsing your spoons.

Taste Time!
We usually wait for 10 minutes (from pouring) to start tasting. This allows the coffee to come to a palatable temperature. If you are tasting along side other people, you want to follow the new Modified Cupping Protocol to prevent cross contamination. Simply get a sample of coffee using your cupping spoon and put it in your drinking cup, then you drink from the cup and the spoon never touches your mouth. In between tasting each sample, you want to rinse your spoon with hot water.
More on The New Modified Cupping Protocol

Things That You Should Be Looking (Smelling / Tasting) For:
Happy Cupping!


